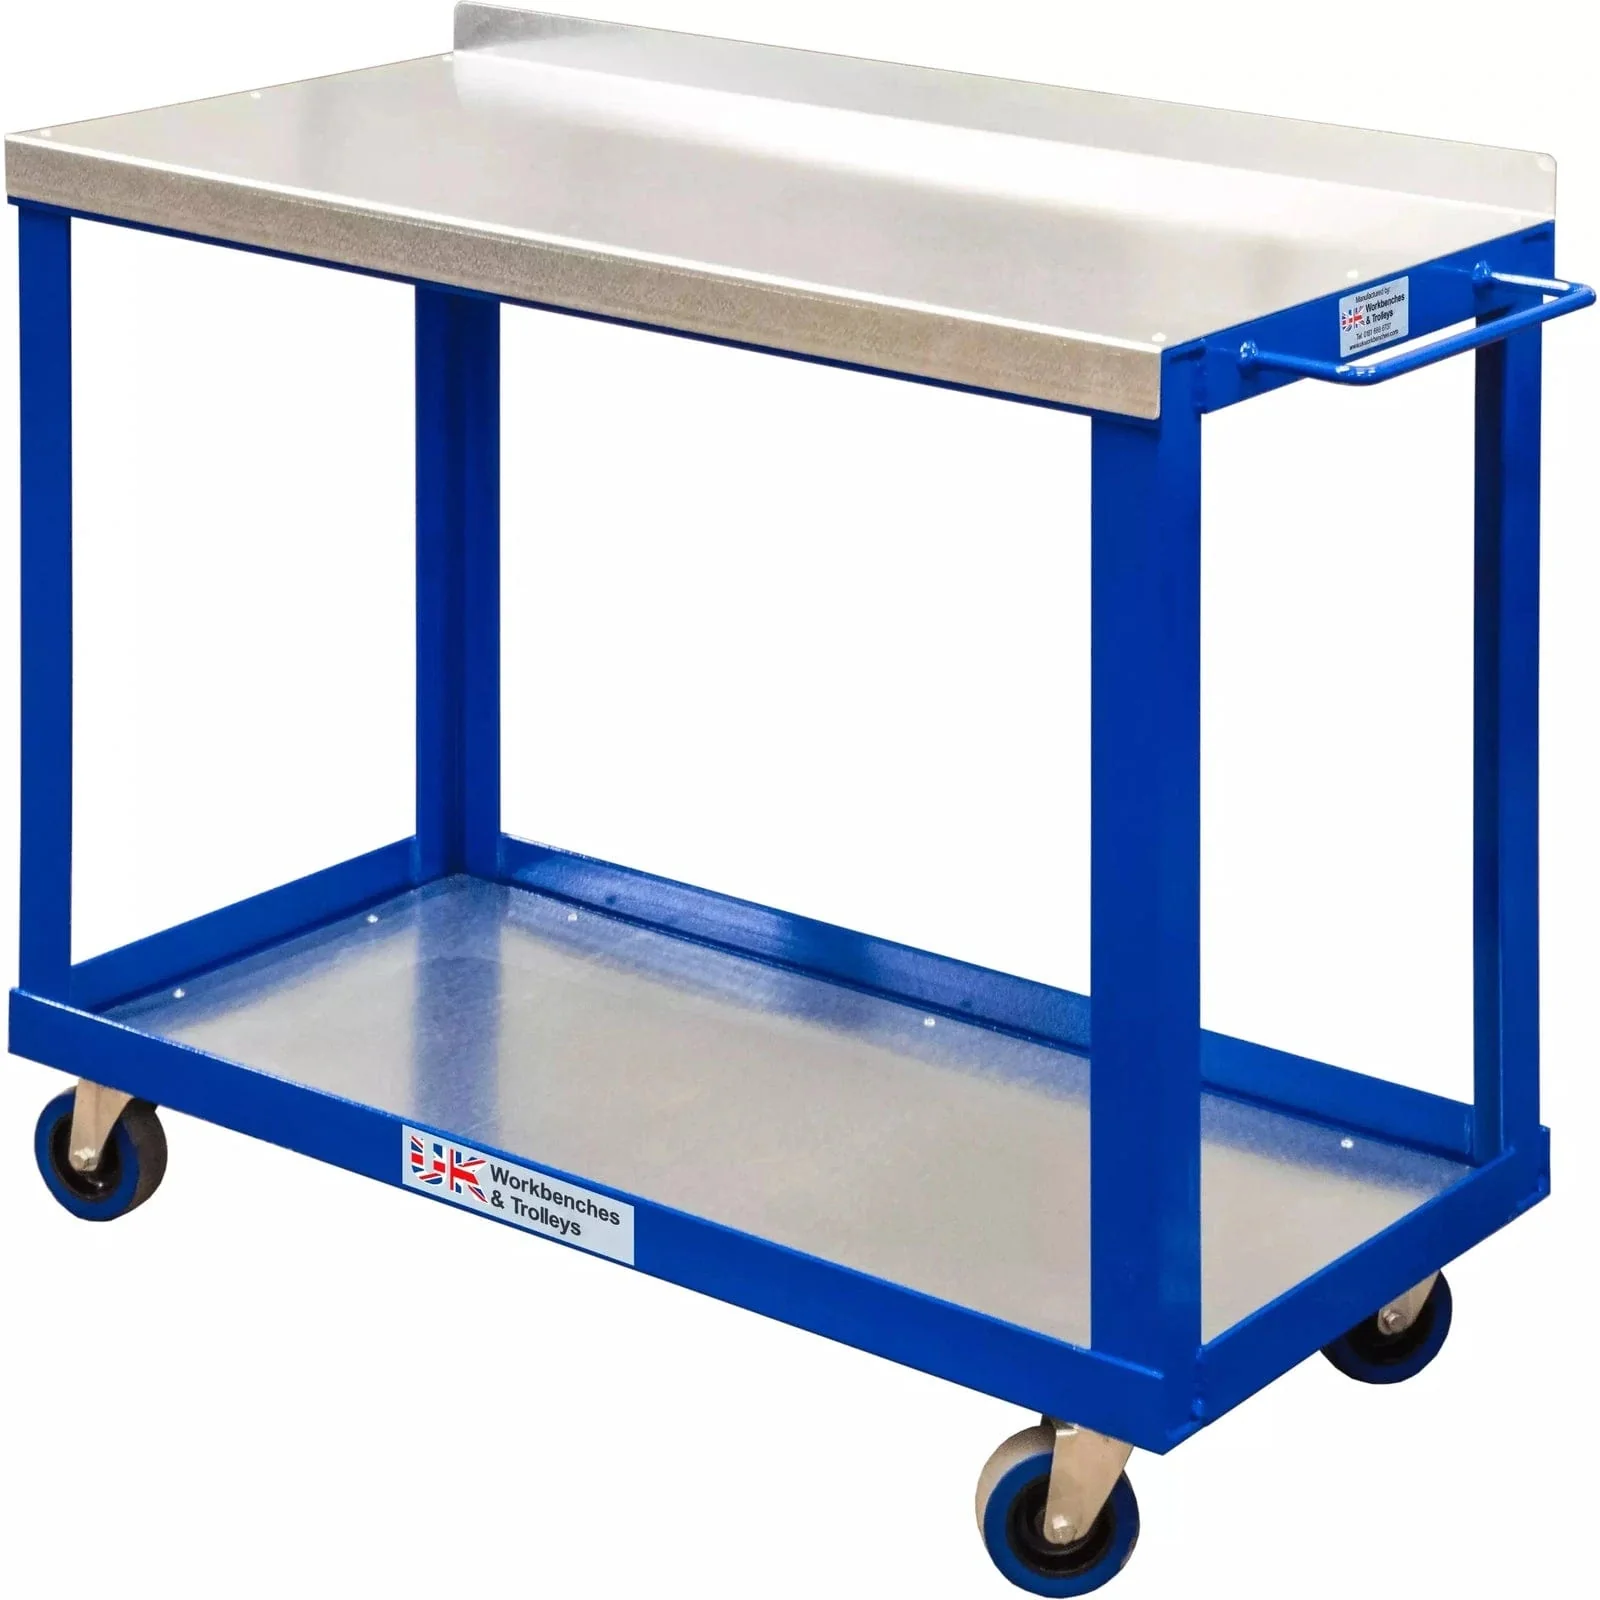
This project was commissioned by UK Workbenches, who provided me with images of their products taken in their warehouse. My task was to cut out the product from its original background, place it on a clean white background, and resize it to 3000×3000 pixels to fit perfectly on their website. After that, I had to recolour the main frame of the product into different shades. This process saved UK Workbenches time, money, and resources as they didn’t need to manufacture each product in multiple colours. Instead, they could offer colour options digitally and only create the product in that colour when it was purchased online.
Cutting Out and Selecting the Frame
I experimented with several techniques for cutting out the product, such as the Magic Wand Tool and the Polygon Lasso Tool. However, I quickly realised that these methods didn’t achieve the level of precision I needed and weren’t time-efficient. I then turned to the Quick Selection Tool and the Object Selection Tool, which proved to be the most effective combination for this task.
I started by using the Object Selection Tool to capture the majority of the product. If the initial selection missed any significant areas, I would repeat the process while holding the SHIFT key to add to the existing selection. Once most of the product was selected, I refined the edges using the Quick Selection Tool, adding or removing small areas as needed by holding the ALT key. Once I was satisfied with the selection, I inversed it using CTRL + SHIFT + I and deleted the background. If any areas needed adjustment, I used CTRL + Z to undo and refine the selection further.
After cutting out the product, I needed to select the main frame for recolouring, while leaving the surface and feet of the table untouched. I used the same combination of the Object Selection Tool and Quick Selection Tool to achieve this.
Colourising
I quickly learned that using the Brush Tool alone to recolour the frame removed the product’s texture, making it appear flat and 2D. Instead, I experimented with the Colour Replacement Brush and the Replace Colour Tool (found under Image > Adjustments > Replace Colour). Each tool worked better for different shades. For darker colours, the Replace Colour Tool often achieved the correct result on the first try, while the Colour Replacement Brush was more effective for lighter shades, although it required some adjustments with the Brightness/Contrast and Hue/Saturation settings.
Every product posed its own challenges due to variations in lighting and shadows in the original photo. To ensure an accurate colour match, I would use one of the tools to recolour the frame and place a small square of the correct hex code on the frame. I adjusted the Brightness/Contrast and Hue/Saturation until the square blended seamlessly with the frame, indicating a close match.
Summary: Project Impact
Overall, this project helped streamline UK Workbenches’ product offerings and provided more flexibility for their online store. I applied this process to many of their products, all of which can be seen on their website here. This approach improved the efficiency of their production process, allowing them to showcase a wider range of colour options without the need for physical prototypes.
